From 6 July 2020 to 28 August 2020, I took part in a brand new project run by Arts Education Exchange, doing so for seven out of eight weeks, as I was on holiday in Nottingham on the seventh week. This project is known as Creative Transitions. I did many drawings, paintings, illustrations, collages, comics, mind maps and reviews for them as my tasks. Here is my work.


Poster Question Answers (Week 4, Day 3).
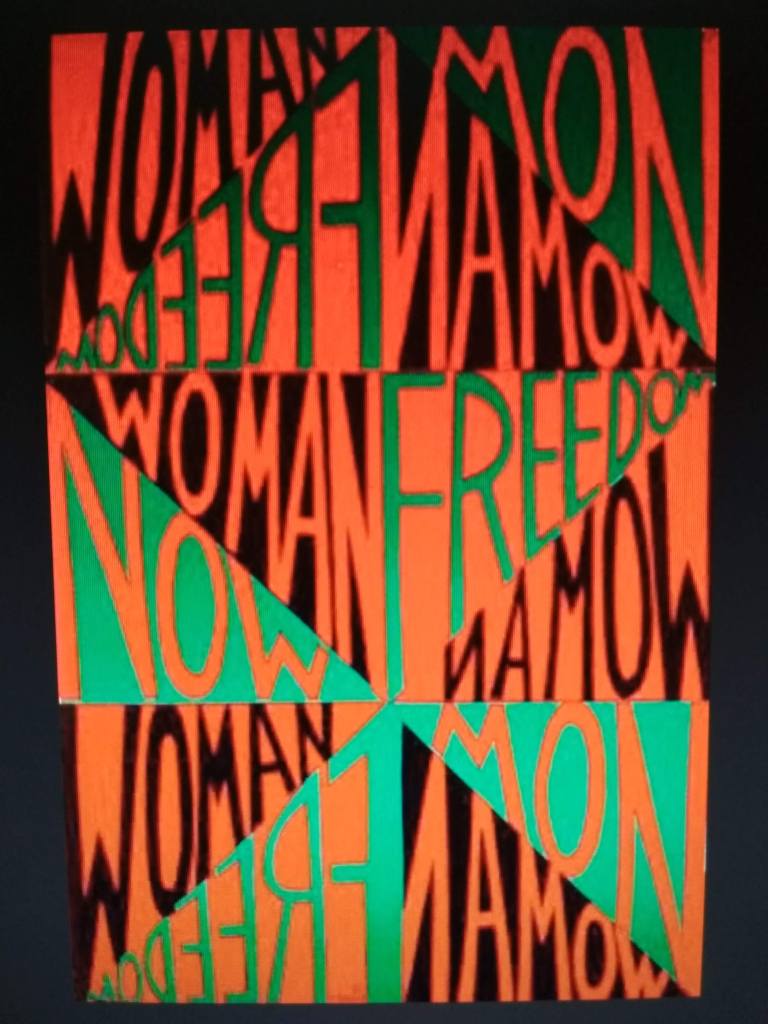
Faith Ringgold used red, green and black colors in her poster because they represent strength and determination.
Ringgold is fighting for freedom, justice, and gender and racial equality, and is fighting against racism and exclusion with the poster.
Ringgold used cut-and-pasted colored paper divided into 12 triangles to give the poster an abstract look.
The thirds composition framework was used in the poster.
I think that the typography used in the poster is powerful, and affirmative of feminist activism. Ringgold chose this style of text because it is bold and represents strong emotion.

Emory Douglas used red, beige and black colors for his poster, which seems to represent the boy in the foreground (beige and black) and the sun in the background (red), representing the dawn of a new day.
Douglas’ poster is a message of hope and solidarity, a message still relevant today with the Black Lives Matter movement.
Douglas used collage in his poster to show different stages of children (Black Panther cubs) enjoying social programmes created for the black community.
The oval composition framework is used in the poster.
I think that the typography used in the poster is encouraging resilience, and it is used in the poster because it tells black people to never give up hope.

Shepard Fairey used solid red, beige and (light and dark) blue colors for his poster because it fits the political theme and matches with the American flag’s colors.
Fairey is facilitating a positive association with Barack Obama’s likeness, and protests against negative associations and racism with the poster. The poster is a strong message for the political climate in America at the beginning of the presidential campaign. Around the world, Obama is seen as a figure of hope for many black people.
Fairey used a photograph of John F. Kennedy as a reference for the poster and gave it a stylized stencil look, and it is generally considered iconic.
The grid composition framework was used in the poster.
I think that the typography used in the poster is positive, helpful and inspirational. It uses bold text to reinforce the poster’s strong message.

The unknown illustrator used pink and black colors for her poster because they are symbols of feminism and activism.
The illustrator is fighting for power, justice, work and equality, and is fighting against exclusion of women with the poster.
The illustrator used coloured cardboard and cut-outs to make the poster to give it a fitting look for the feminine activism.
The oval composition framework was used in the poster.
I think that the typography used in the other posters is powerful, and affirmative of feminist activism. The other illustrators chose this style of text because it is bold and represents strong emotion. The main illustrator, however did not use typography in her poster, though the feminist symbol remains.

Peter Piech used red, white and blue colors for his poster because they are colors of peace.
Piech is fighting for peace and truce, and protests against war with the poster. The poster is a helpful message for people, encouraging them to be friendly towards each other and understand their feelings, and teaches them that “love not fear must dominate the relationship between individuals and between nations.”
Piech used a Linocut print for the poster to give it a beautiful look.
The Z composition framework was used in the poster.
I think that the typography used in the poster is positive, helpful and kind. It uses bold text to encourage people to be friends.

The Botanical Mind Review (Week 5, Day 1).
Three Things About Plants:
Plants first appeared on Earth more than 450 million years ago.
Plants account for 80% of the weight of all living things, a source of shelter, sustenance, fuel, tools, decoration, adornment, medicine and myth.
Plants are fundamental to the existence of all life on Earth, from producing breathable atmosphere, to harvesting the energy of the sun, and converting it to food and fuel for every form of living organism.
Leftover Plant/Art Fact: Nature operates through patterns in repetitive form.
Three Interesting Arts: I find Carl Jung’s The Philosophical Tree in The Cosmic Tree interesting because of its elegant blue colours and the glowing white object located in the centre of the tree, like a light in a lantern. The Cosmic Tree is a universal archetype that appears in the symbolism and mythologies of many civilisations, and represents the Axis Mundi (World Axis), which connects the physical and transcendental realms of the universe. From the giant Yggsdrasil, that connected the Nine Worlds of Norse mythology, to the ‘Tree of Knowledge’ in the Garden of Eden, a sacred tree’s motif is often associated with the figure of a snake, an emblem of shamanic experience, rising from the shadows to the spiritual plane.
I find Ernst Haeckel’s Peromedusae in Sacred Geometry interesting because of its special flower-like rope design. Certain patterns or designs are used in art and science, which reoccurs across cultures and through time when echoing the fractal and spiral geometries included in plant-forms and flowers and the psychoactive visions induced by mind-manifesting plant medicines. Serving as blueprints for the world, they reveal an encoded, vegetal intelligence by connecting the macro-cosmos to the micro-cosmos.
I find Bruce Conner’s Psychedelicatessen Owner in As Within, So Without interesting because of its usage of collage of found jewelry-like illustrations featuring plants; black, white, grey and brown colours, and inclusion of the third or inner eye, meaning that Conner was capable of microscopic and macroscopic vision; and representation of the visions induced by mind-manifesting plant medicines. In his concept of the archetypes, Carl Jung perceived continuities between the forms of physical and psychic reality, essential patterns (regularities of form and structure) that appear in nature and arise naturally in the mind. The many mandalas that appear in his Liber Novus (Red Book) were made with a method named Active Imagination, an attempt to ‘form in matter’ his innermost thoughts and the structure of his psyche. The mandala is one of the oldest spiritual symbols in the world, attempting to represent the universe schematically while also operating as a meditation device, a gateway enabling transformative states of consciousness. Although they are common to many different traditions of eastern and western mysticism, they have also been created by a number of contemporary and modern artists.
Three Art Techniques: collage, pastel and pencil on paper, oil on canvas.
I learned that most of Delfina Muñoz de Toro’s work is colourful and includes red, orange, yellow, green, blue and other bright colours. I liked the details, colours and placement of drawing. What I did not like about her work is that there is barely any information about the process of her work online.


Ali Mac is a freelance illustrator based in New York City. She holds a B.A. in Studio Art from Williams College and an M.S. degree in Communications Design from Pratt Institute. In 2014, Mac, feeling inspired by her grandmother (who was also an artist), founded her eponymous stationery line (formerly LARK+RAVEN) to showcase her portfolio of colorful, one-of-a-kind patterns and illustrations. Her career began as a designer for Jonathan Adler, where she gained experience designing for collaborations with Paperless Post, Toms, Lifeguard Press, Barnes and Noble, Dylan’s Candy Bar, and Ebay. This was before she went on to create her own bold and bright world with Sharpies. I feel connected to Ali Mac’s art style because it involves collage, and Mac puts the method to brilliant use when making her unusual, brightly colored patterns and illustrations. Illustrations of animals can be used to tell generations about animals, how they behave and where they are located, and be given as a portrait of a beloved pet, used for self-reflection, used for inspiration, used to express faith, used to illustrate affinity with the natural world, used to illustrate power, and shape the way that we think about them. I found doing this activity a little difficult because I had to make the drawing as realistic as possible (including lighting on the squirrel’s tail). The drawing is based on a photograph of a squirrel that I took during a walk.


Reflecting, Building Confidence, and Sharing Skills (Week 8, Day 1).
The illustration work that I am most proud of is the mythical creature.
I overcame the challenge of doing the line drawing.
I got better at doing illustrations with shading/textures, like my ball drawing on Week 1.
I know I can use different methods of making illustrations, like using photography as reference for my line figure movements and drawing around my hand and other objects to make my shading/texture patterns.
I would like to work more on my planned ideas and designs before doing illustrations.
I will keep practising my realistic details in my illustration works.
I would like to know more about collage as a technique.
‘Interview’ Questions for Grace (Week 8, Day 5):
When and how did your career begin?
Grace: My career began in 2015 when I was working in a small design company.
What inspired you to do illustrations?
Grace: My inspiration for illustrations comes from my creativity, reading, comics and my parents.
How do you make your illustrations?
Grace: I make illustrations using printing, paints, pen, pencil, ink, stencils, collage (mostly) and cutouts (mostly).
Were your parents illustrators as well?
Grace: My parents were not illustrators. My mother is an outdoor gardener, and my father used to be a writer, reviewer and musician.
Where do you see yourself in five years?
Grace: I see myself as still working and experimenting and keeping up motivation to make work, making a book of illustrations, doing bigger illustrations, and making record sleeves and music posters.


I like how Peony Gent’s illustrations are presented as following each other vertically in rows of boxes layered over a white background, with the first boxes having one illustration and the rest of the boxes each having two illustrations, which makes their layout clear, easy to navigate, balanced and consistent, and makes the clean illustrations come to life. The first two boxes are black, while the others are white.
I like how Diana Ejaita’s illustrations and videos are presented as being arranged in columns in the grid boxes and layered over a white background. The only downsides to this are that some of the illustrations and the videos are too big and the number of illustrations changes from one to three to four, making their layout unclear, difficult to navigate, unbalanced and inconsistent.
I like how Eve Lloyd Knight’s illustrations are presented as being grouped in colour and arranged in two columns in a brick-like layout layered over a white background, which makes the layout clear, easy to navigate, balanced and consistent (in colour). Most columns on Knight’s website have an illustration that is grouped in two sizes.
Reflecting, Building Confidence, and Sharing Skills 2 (Week 8, Day 4).
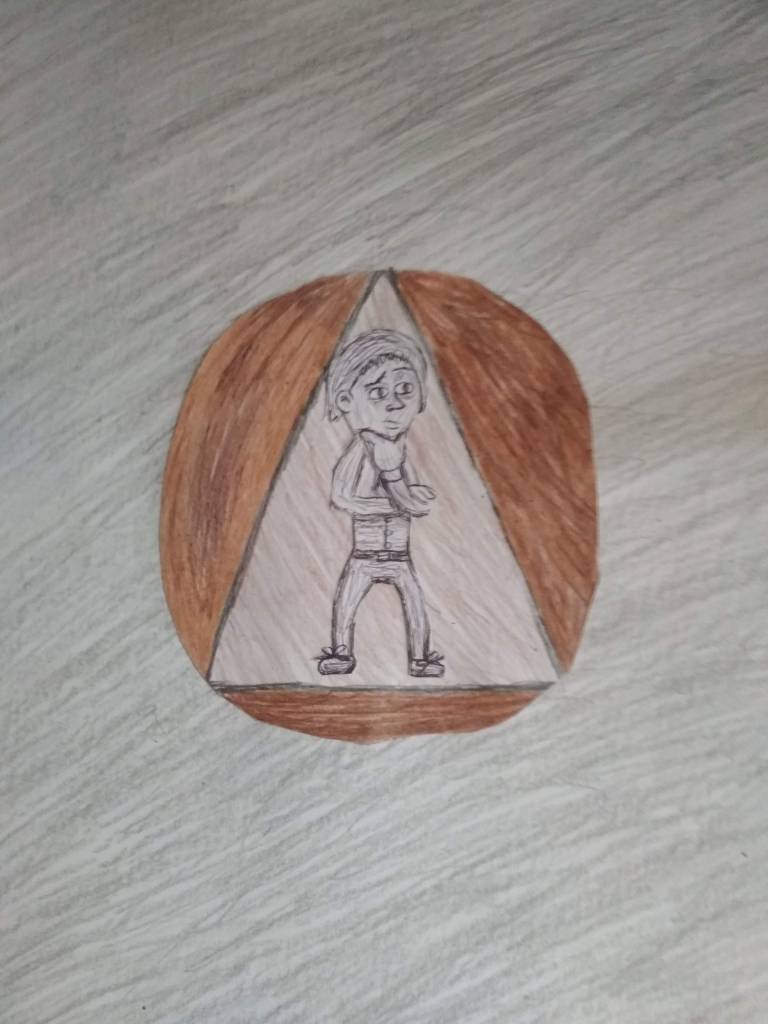
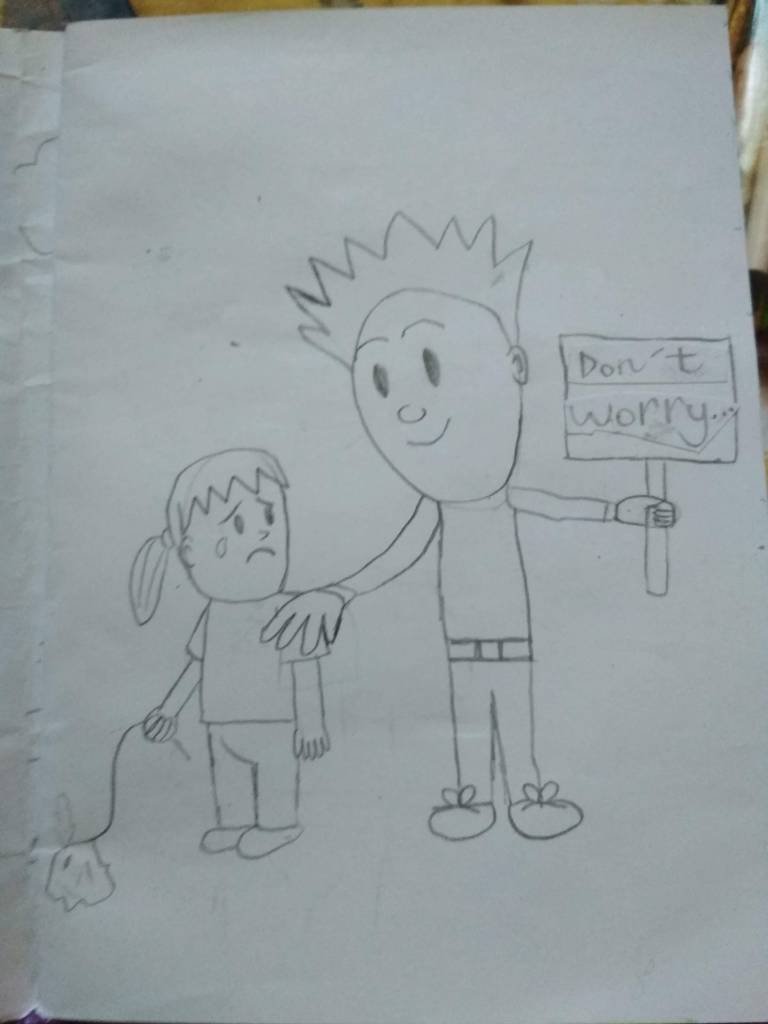
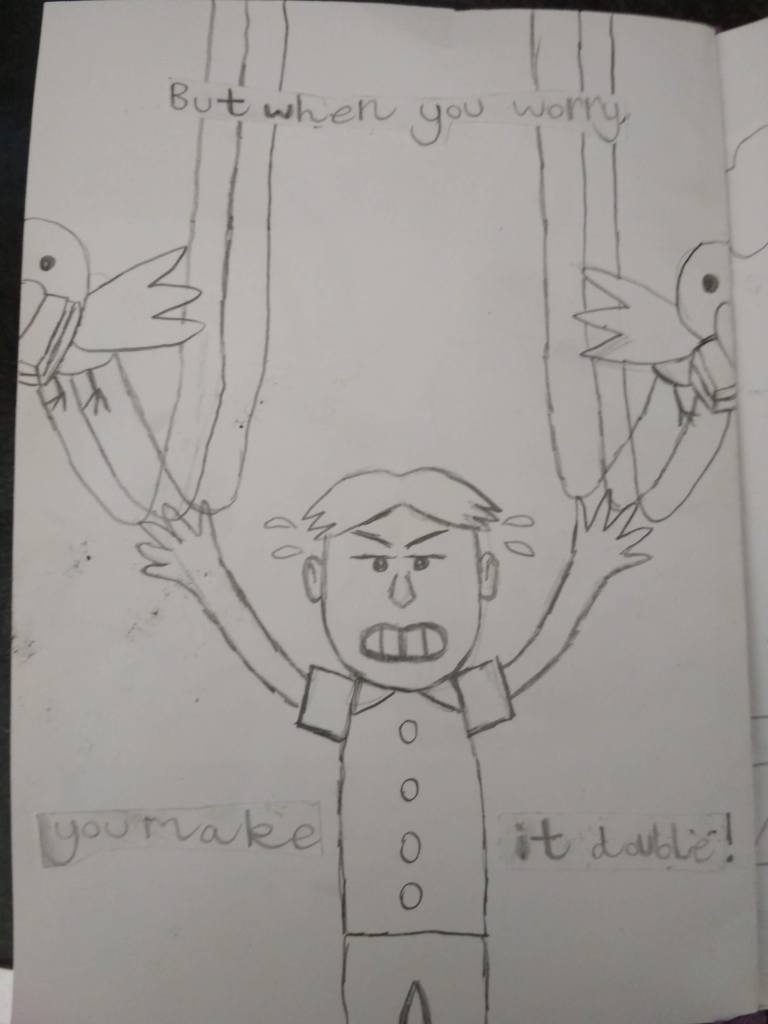
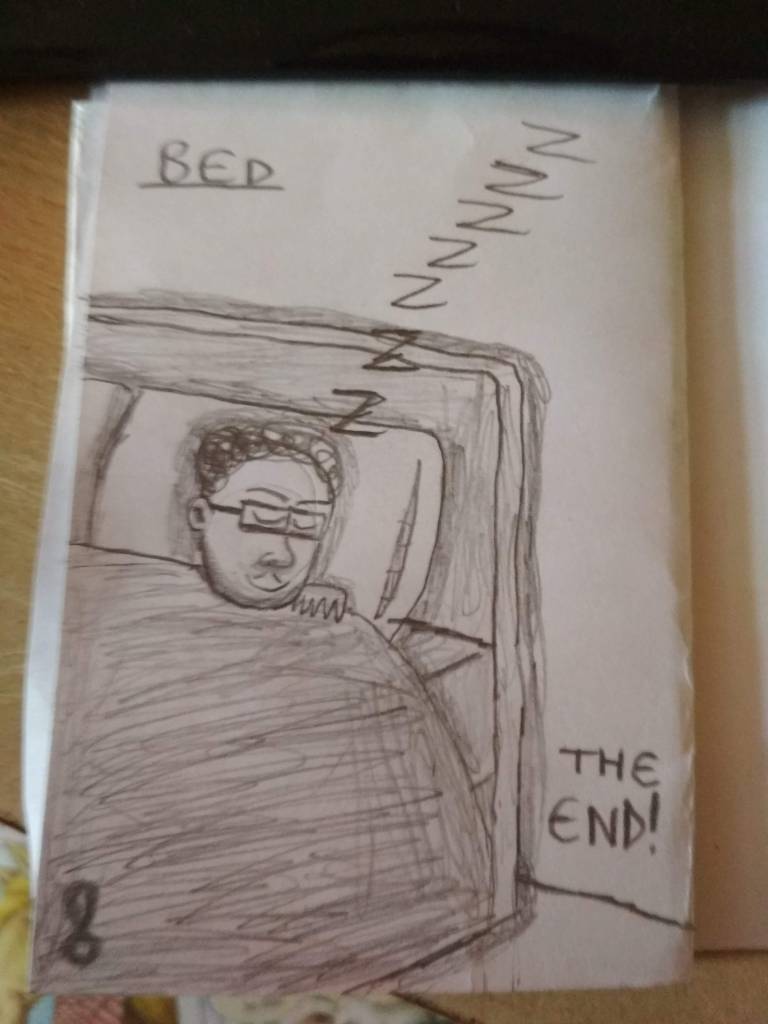
The illustration work that I am most proud of is the positive vibe comic.
I overcame the challenge of doing the four-panel narrative comic.
I got better at doing paintings with three-dimensional shading/textures, like my botanical illustration on Week 5 and my wet on wet watercolour animal illustration on Week 6.
I know I can use different methods of making illustrations, like using different composition frameworks for my Creative Leap poster and silent nature comic and drawing over pencil lines using a pen or marker in my Round ‘Em Up Soap poster and my How to Use the Wet on Wet Watercolour Technique comic.
I would like to work more on realistic designs and details in my illustrations.
I will keep practising my research skills, which will result in the discovery of new ideas.
I would like to know more about shading as a technique to create a different perspective.
