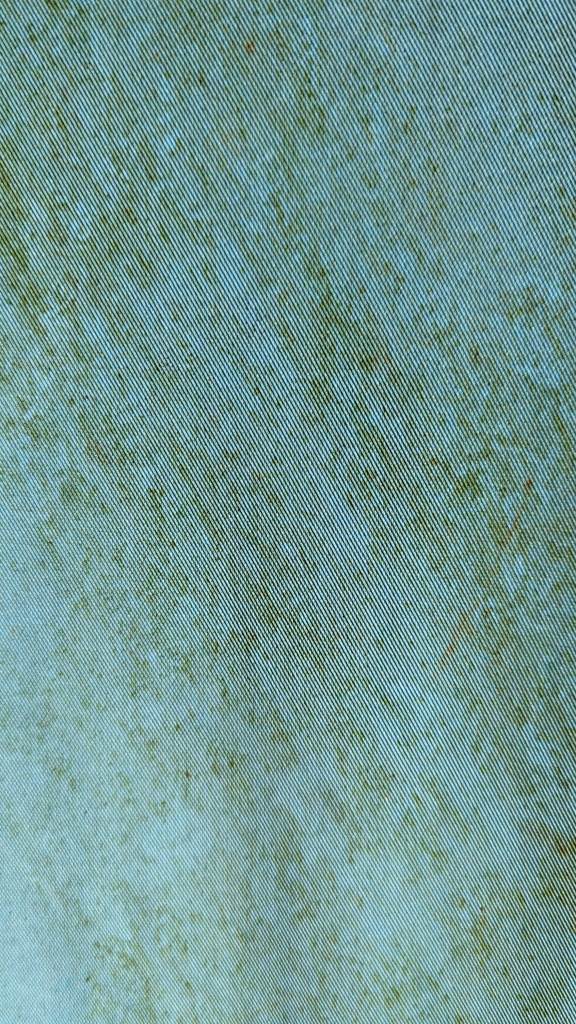
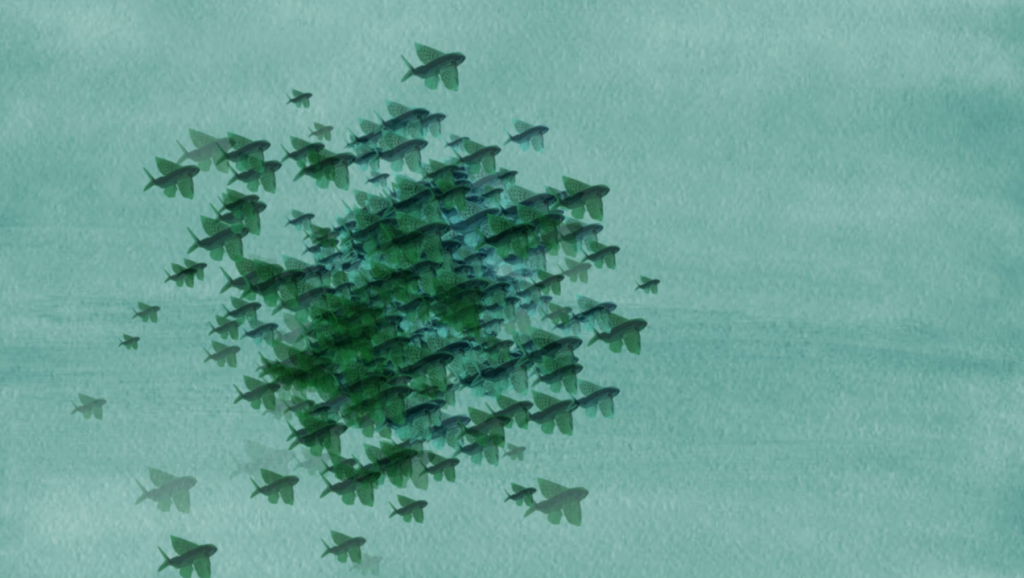
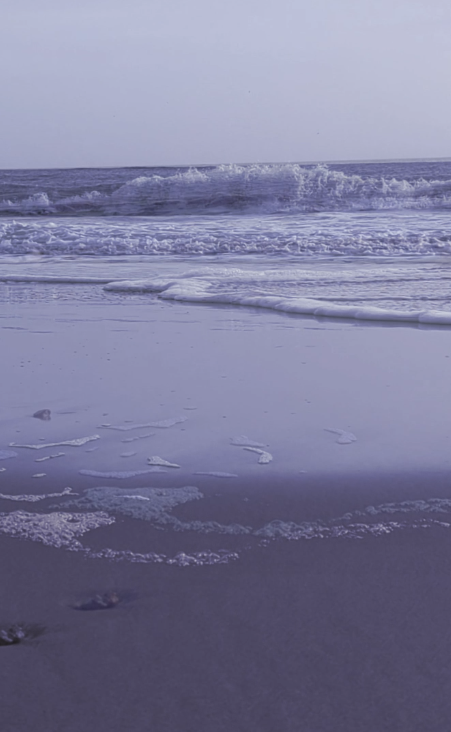
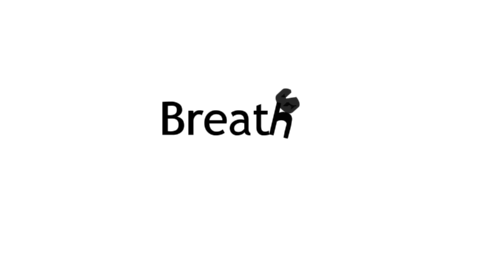
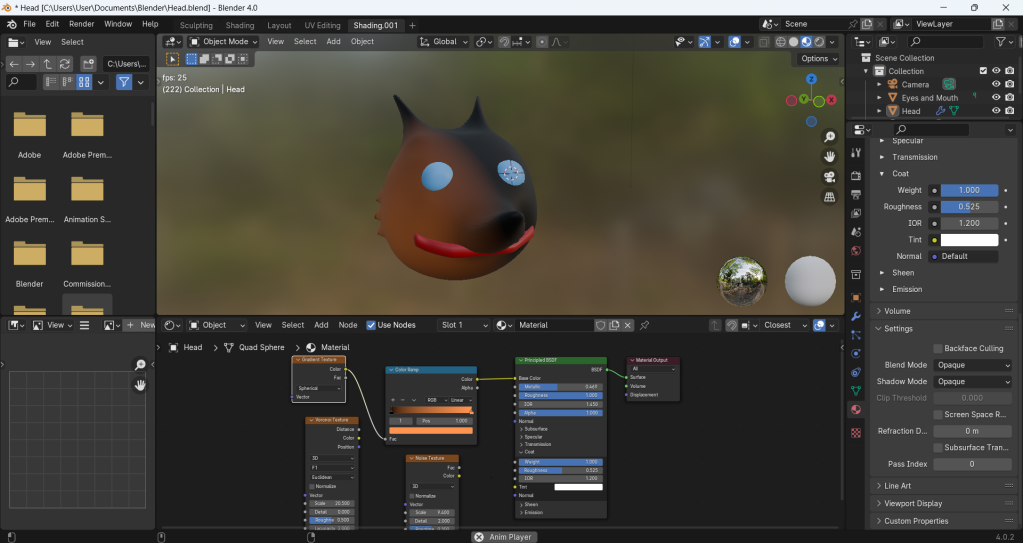
From December 2023 to 2024, I was producing animated sequences for a short film named Breath or Breathe. I downloaded and installed Blender, where I started to familiarise myself with the layout of the software. First, I learned how to add an object and move it around, modify objects, and render a scene, and tried some modelling and sculpting tools. Next, I loaded my reference artwork in a new window, and used “Sculpt Mode” to create a sculpted fox head to animate at a later date. I then looked at some processes to help refine the features on the fox character. I added colour and material behaviours to the head and face, and briefly looked at the “Node” editing space. I learnt how to unwrap my model and was ready to paint, but there were problems with the addition of textures. Because of this, I decided to move on to making stop motion breath animations, using sand-on-glass, ink, chalk and watercolour paint. During walks in Folkestone, I took photographs of surfaces with relaxing, calm textures to use in my sequences, and recorded the tide in Folkestone Beach coming in. I worked on timing ‘in’, ‘hold’ and ‘out’, and repeated the breathing sequences for 10 breaths, each one treated slightly differently with effects such as “Bulge”. After that, I watched some footage of murmurations. For the tide, I created “Time Remap” keyframes for it coming in for 2 seconds, held for 4 seconds and out again for 2 seconds, and applied different colours to it using “Hue/Saturation”. Next, I created some particle swarms by using motion paths, inspired by the murmuration footage. I used bubbles and flying fish textures for mine. I even did an animation where I used the Geometry Options “Curvature” and “Segments” to make the texture background bulge out and in to simulate breathing, gave a “3D Text” animation effect to ‘Breathe’, and made it three-dimensional by extending the “Extrusion Depth”.


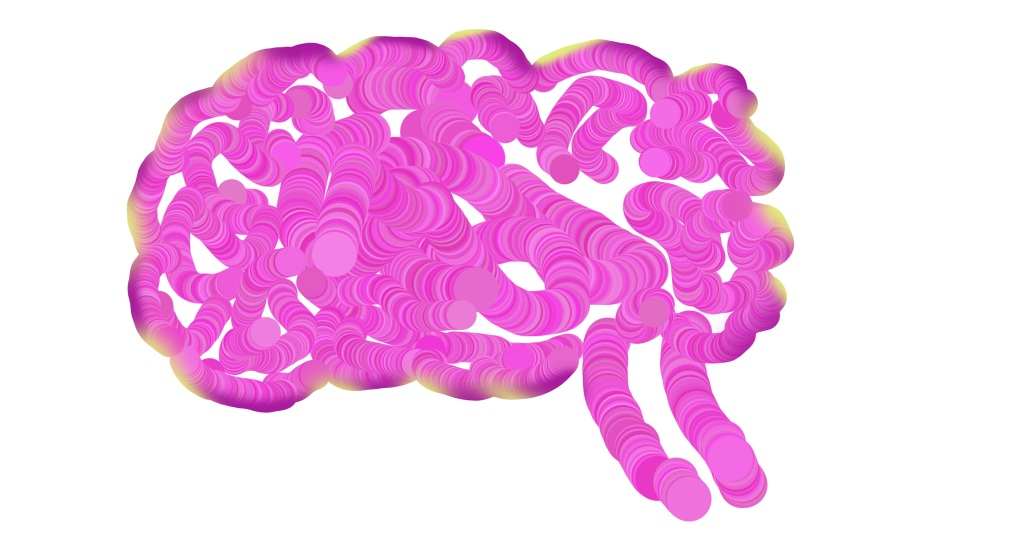
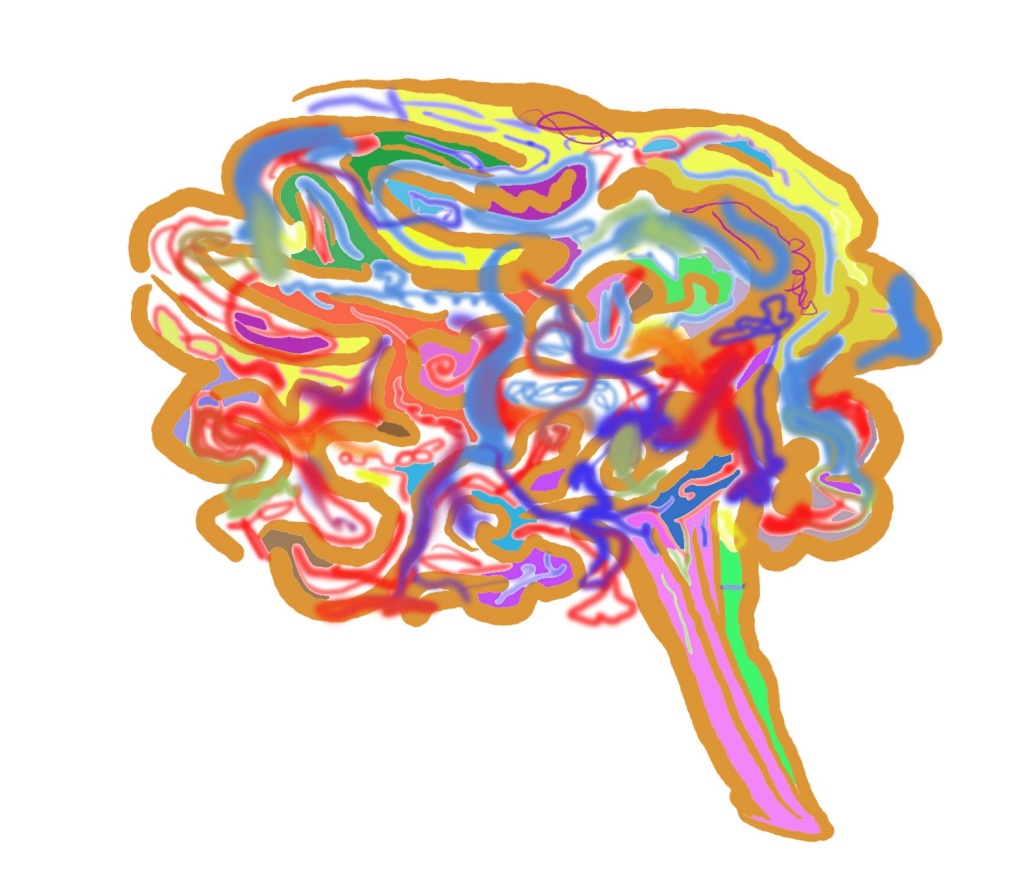
In late February, Lydia Hibbert and I began coming with ideas for the breath film’s introduction: narration, text, diagrams, a growing and shaking animated brain with eyes (visual representation of tension building), multiple layers and colours. We watched I Am Here by Eoin Duffy, Detention by Elle-Máijá Tailfeathers and David Seitz, Focus by Alex Boya, and The Fake Calendar by Meky Ottawa as research, and I made a moodboard of brain images in different art styles (illustrations, vector graphics, abstract, lineart, et cetera). Then I used different brush techniques in Photoshop (“Roundness”, “Hardness”, “Opacity”, “Flow”, “Spacing”, “Size”, “Angle”) to create early sketch designs for the brain. We returned to my Blender fox head, where I unwrapped the textures of the eyes, mouth and the head itself, added shading and experimented with “Noise”, “Voronoi” and “Gradient Textures” and the “Color Ramp”, and painted the model in “Texture Paint”. The next day, I experimented with some advanced brush settings, “Shape Dymanics”, “Scattering” and “Texture”, and did some drawings focusing on the shape of the object (brain) rather than the outline, using the “Layer Mask”.


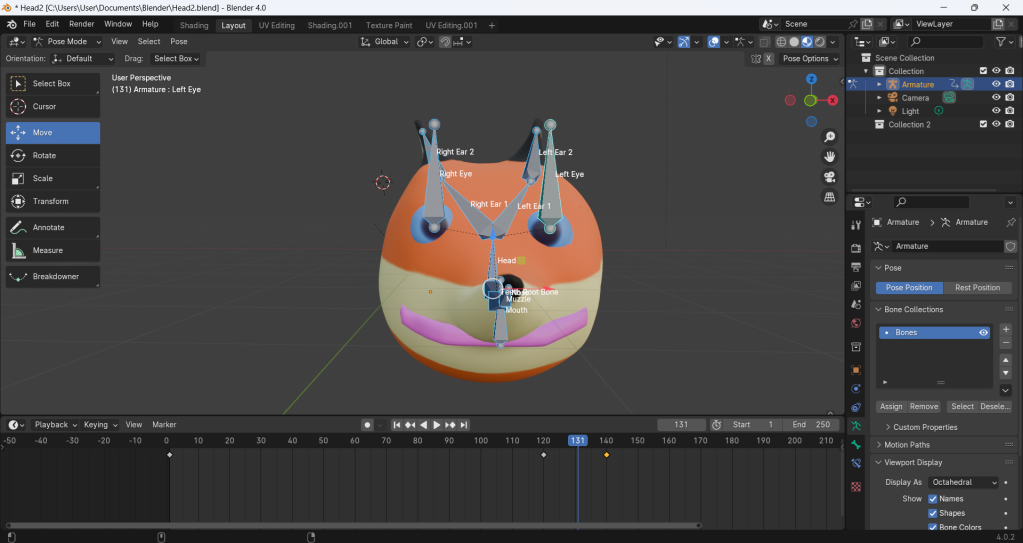
Between March and April, I looked at texture and colour. I experimented with “Color Dynamics”, “Shape Dynamics”, “Foreground Colors”, “Background Colors”, “Shading”, “Lighting”, the “Mixed Brush” (“Wet”, “Load” “Mix” and “Flow”), the “Paint Bucket”, “Gradients” and “Brush Modes”, using them to create some more designs for the brain. Next, I made notes on how the brains would be animated to convey emotion. For example, the blue brain in my “Color Dynamics” drawing would be for sadness and shake and wobble as if it were crying, and the “Shading and Lighting” brain would slowly grow and shrink to simulate breathing. Later in March, I added armatures to my Blender fox head’s ears, eyes, mouth and nose, and came up with the idea of having the brain fade into the background just before the breath sequences begin. I started creating and adding effects for the introduction’s poem, using “Particle Systems”, “Expressions” and “Linear Wipe”. The poem is:
‘I breathe to help calm my mind.
It dissipates stress and tension.
I fill my lungs through my nose to the count of four,
hold for the count of eight,
and release to the count of four.
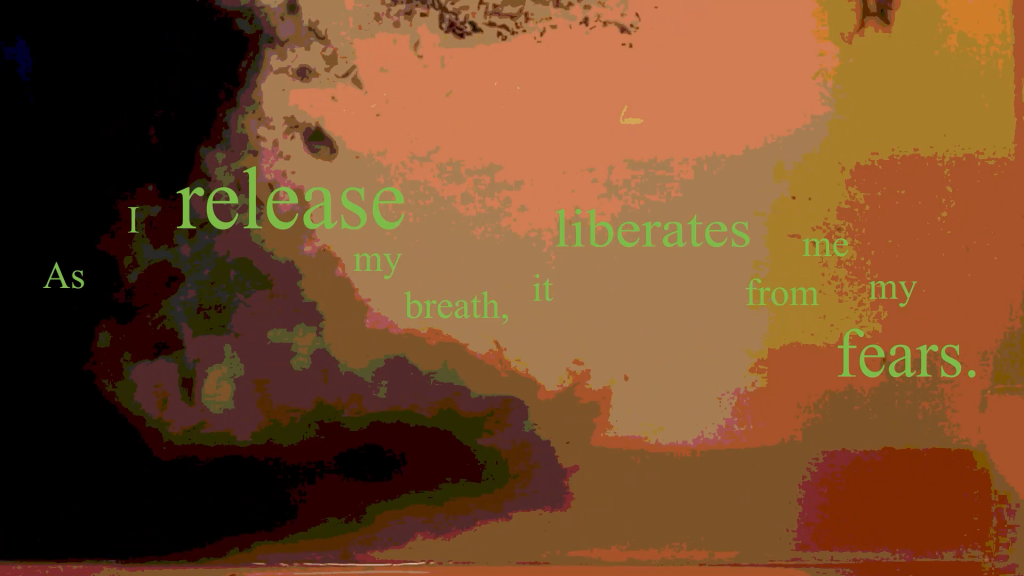
As I release my breath, it liberates me from my fears.
It evaporates stress,
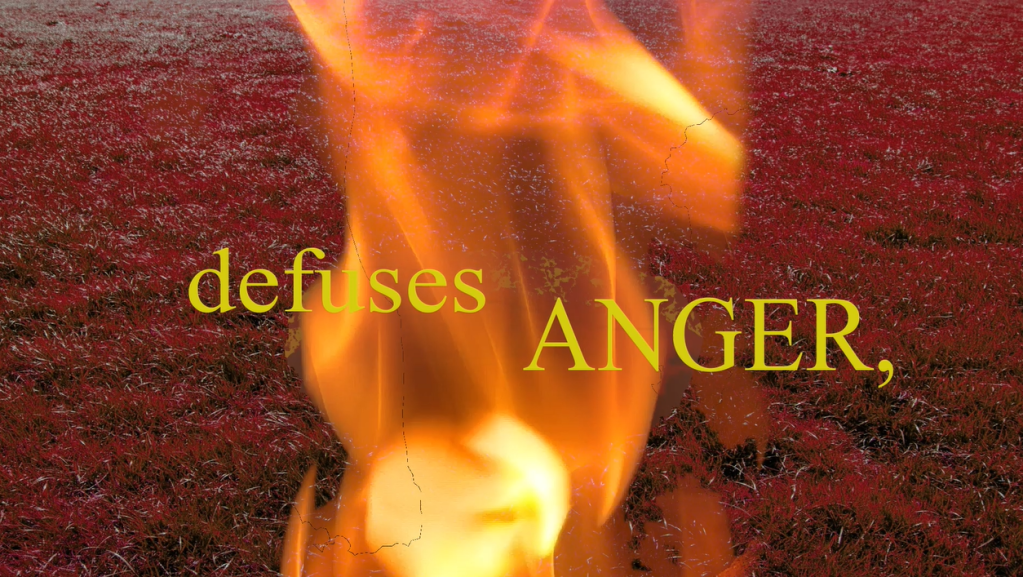
defuses anger,
decomposes sadness,
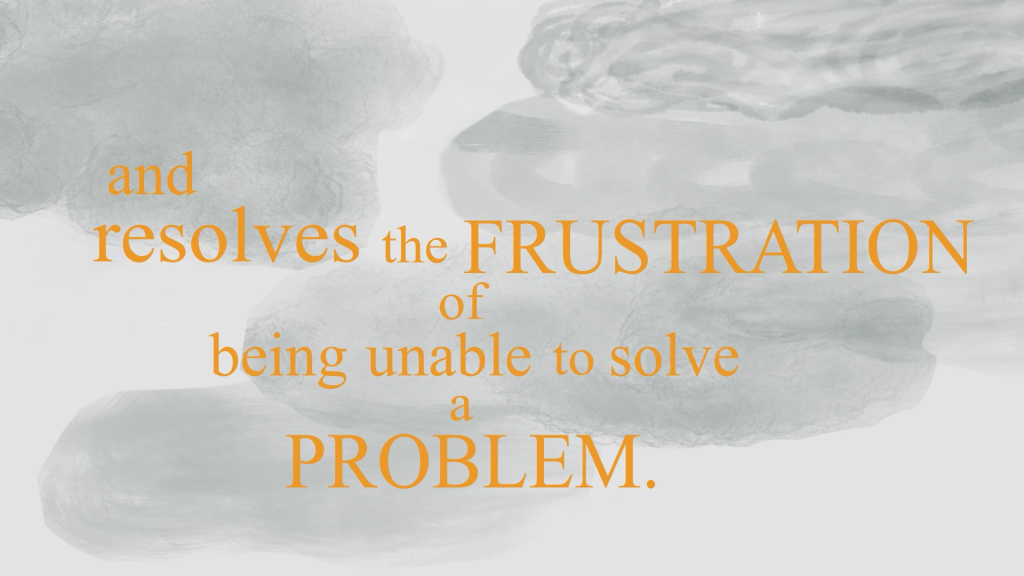
and resolves the frustration of being unable to solve a problem.’
We watched War Is Over! Inspired by the Music of John and Yoko by Dave Mullins and Brad Booker, Letter to a Pig by Tal Kantor and Amit R. Gicelter, Ninety-Five Senses by Jerusha Hess and Jared Hess, Our Uniform by Yegane Moghaddam, Pachyderme by Stéphanie Clément and Marc Rius, Kindness by Naomi Shihab Nye, Singularity by Marissa Davis, Un Corpo/A Body by Milena Tipaldo, Afterimages by Mackenzie Duan, Crossing to Ireland by Jean Maskell, The World by Jalal ad-Din Rumi, and If You Feel Terrible by Rebecca Wadlinger as research to get ideas for the introduction, such as isolating irrelevant parts, moving poems, dialogue, lip-syncing an animated mouth to dialogue (made using the “Slider Control” effect), transitions from text to imagery, filling the screen, repetition, morphing and deconstructing, overlays, and reversing footage. I made two breath sequences in Procreate to use in the film, one of which is used in the introduction.


In May, I included my ink breath animation in my film’s introduction, where I used the “Posterize” effect and scattered text. Next, I made a sequence in Procreate where the text ‘evaporates’, changing brushes between frames, and gave it a “Shatter” effect on the second to last frame. Behind the text is a transparent boiling animated texture background, inspired by watching How to Be Alone by Pádraig Ó Tuama and My Mother’s Coat by Marie-Margaux Tsakiri-Scanatovits. I designed a red grass background with a large hole in Photoshop and added footage of the fire in Lydia’s wood stove in After Effects, making a sequence where the fire shrinks into the hole. The shrinking fire represents defusing anger. Then I did a sequence where my botanical montbretia illustration’s petals shrivel up and the plant’s colour changes to blue, and the petals fall off as the plant withers and dies before they decompose. This represents decomposing sadness. Finally, I animated a sequence in Procreate and After Effects, with the three-dimensional camera zooming and passing through saturated, dissipating, layered clouds, which represents resolving the frustration of being unable to solve a problem. Near the end of the month, I learned how to rig the armature’s bones to the parts of my fox head with ‘Ctrl+P’, had a look at “Weight Paint” where the amount of different coloured paint depended on the weight influence on the bone, and pressed the ‘I’ key to add keyframes for moving, rotating, squashing and stretching the head in the timeline. We then went to record sound effects for my film, such as fans, outside ambience, birdsong and running tap water, and played around with them in Adobe Audition, giving them effects such as filters, pitch-shifting and reverbs.


In June, I worked with Randolph Matthews, composing music for my film. I also added inhaling and exhaling keyframes to my fox head and exported the rendered animation as a PNG sequence. Next, I animated the fox’s eyes and mouth closing and opening when he inhales and exhales in Photoshop, and also began doing the end credits. The fox animation and end credits were finished in July. At the end of the month, Breathe was submitted to the Folkestone Documentary Festival. The film can be watched here.


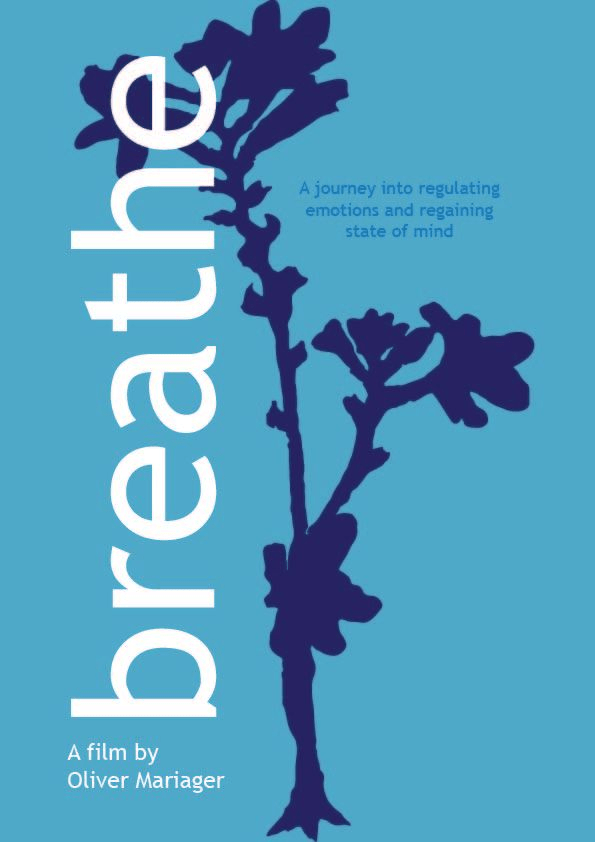
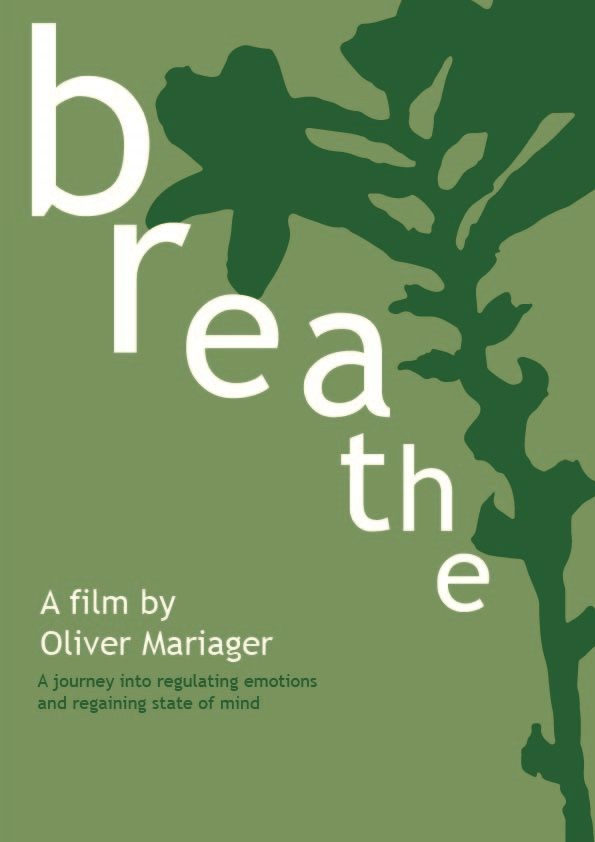
In August, we designed nine different posters for the film in Adobe Illustrator. Breathe was submitted to the Margate Film Festival, along with Sensory Chaos.